





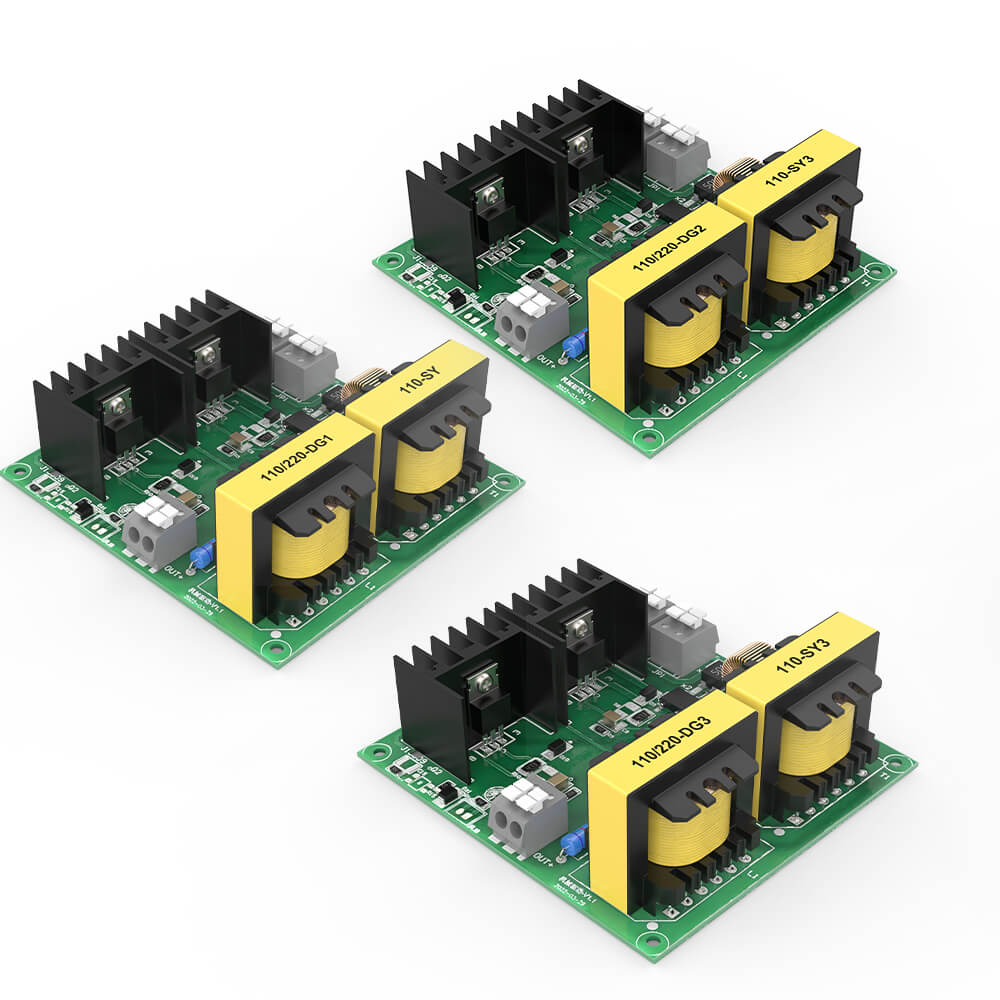


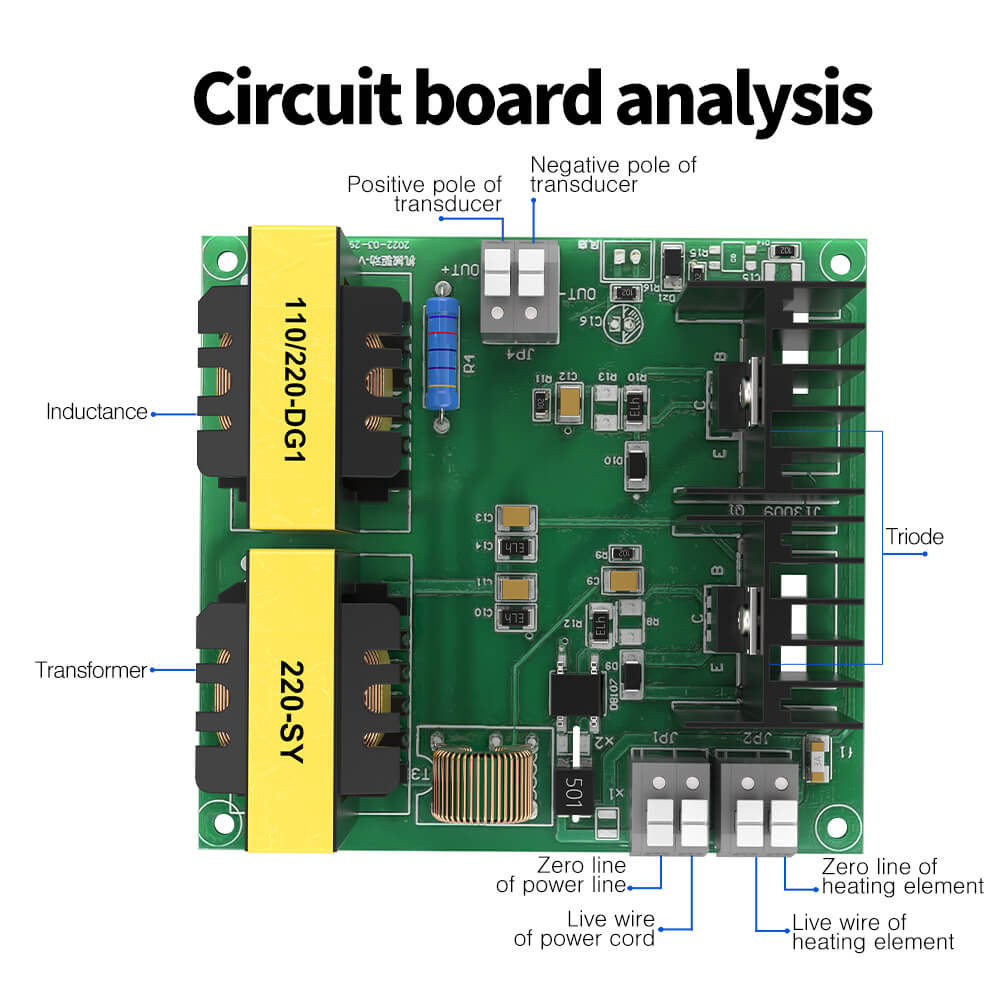
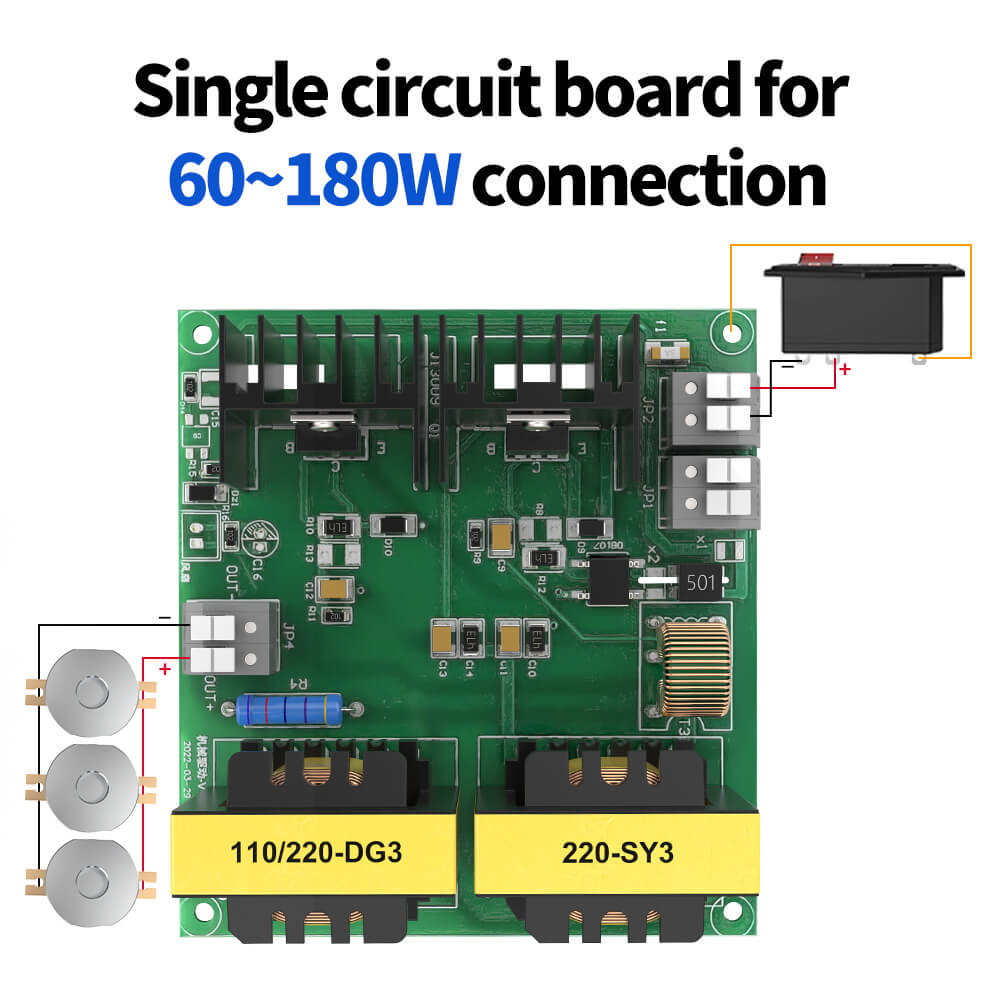
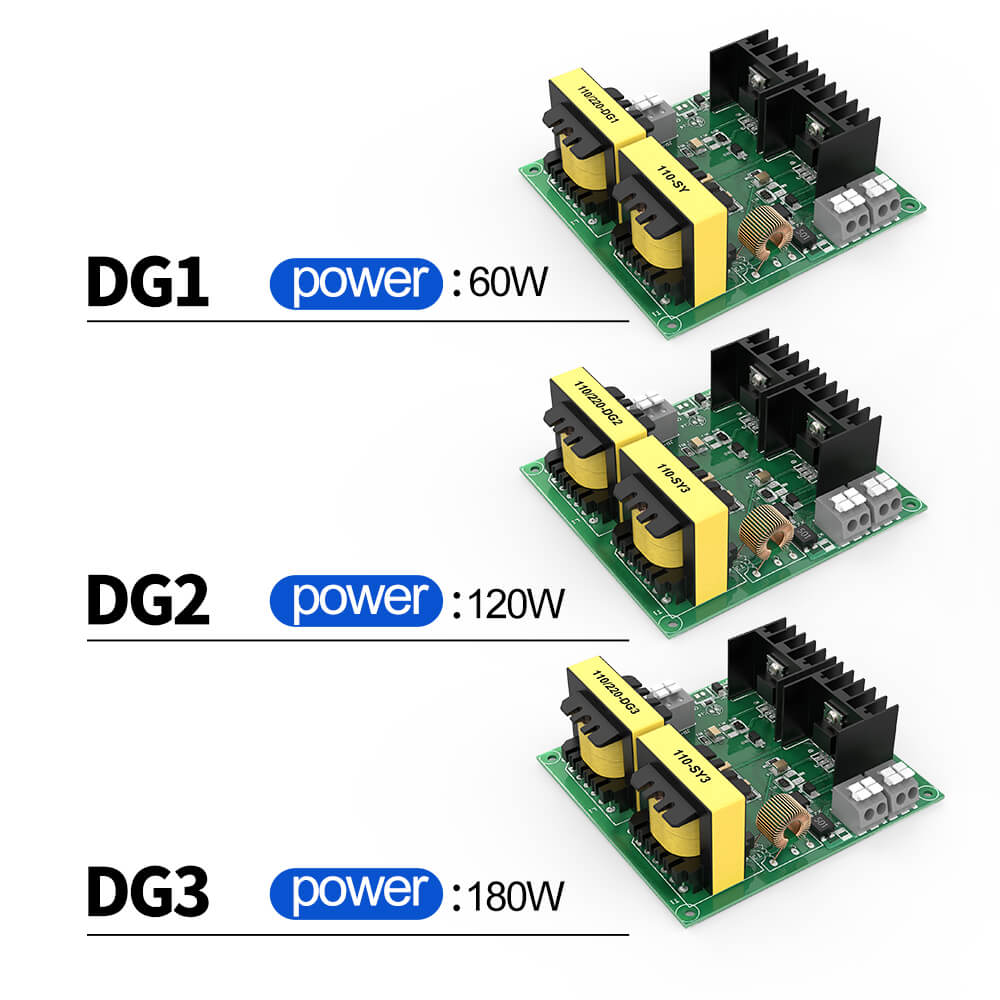
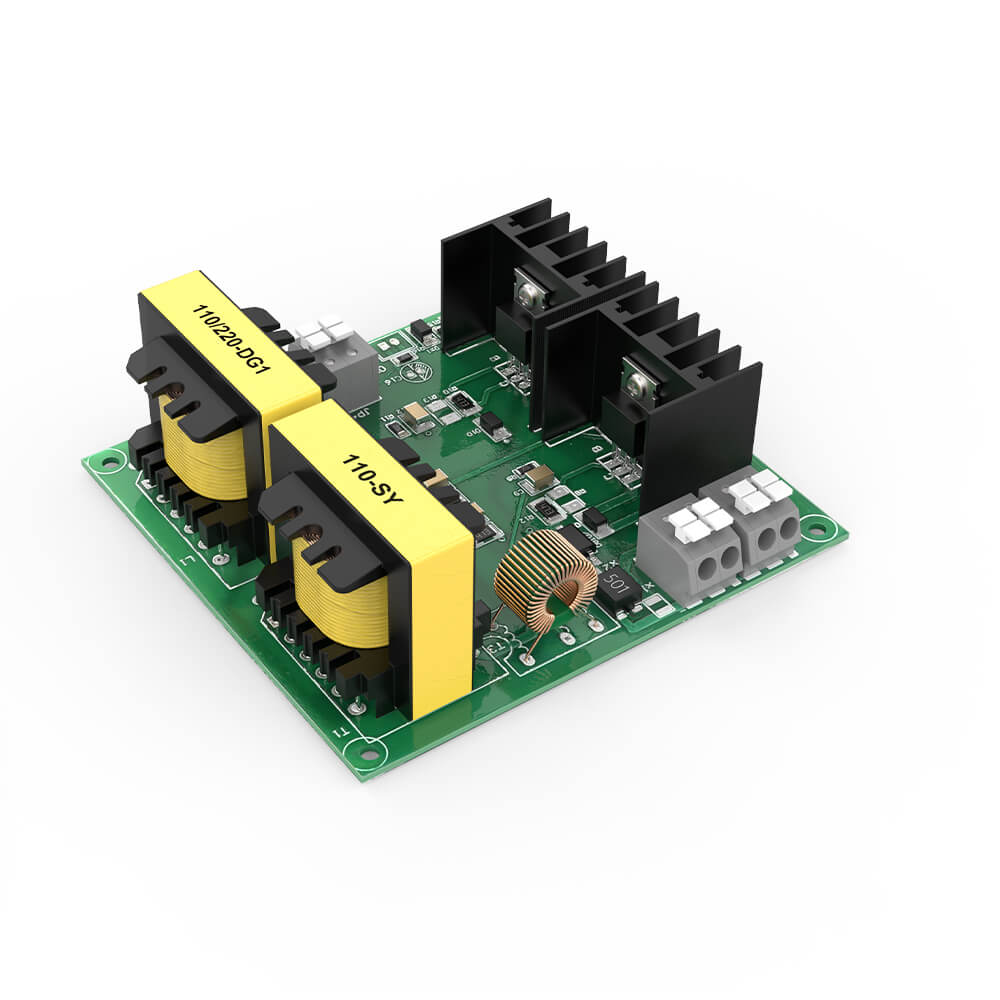





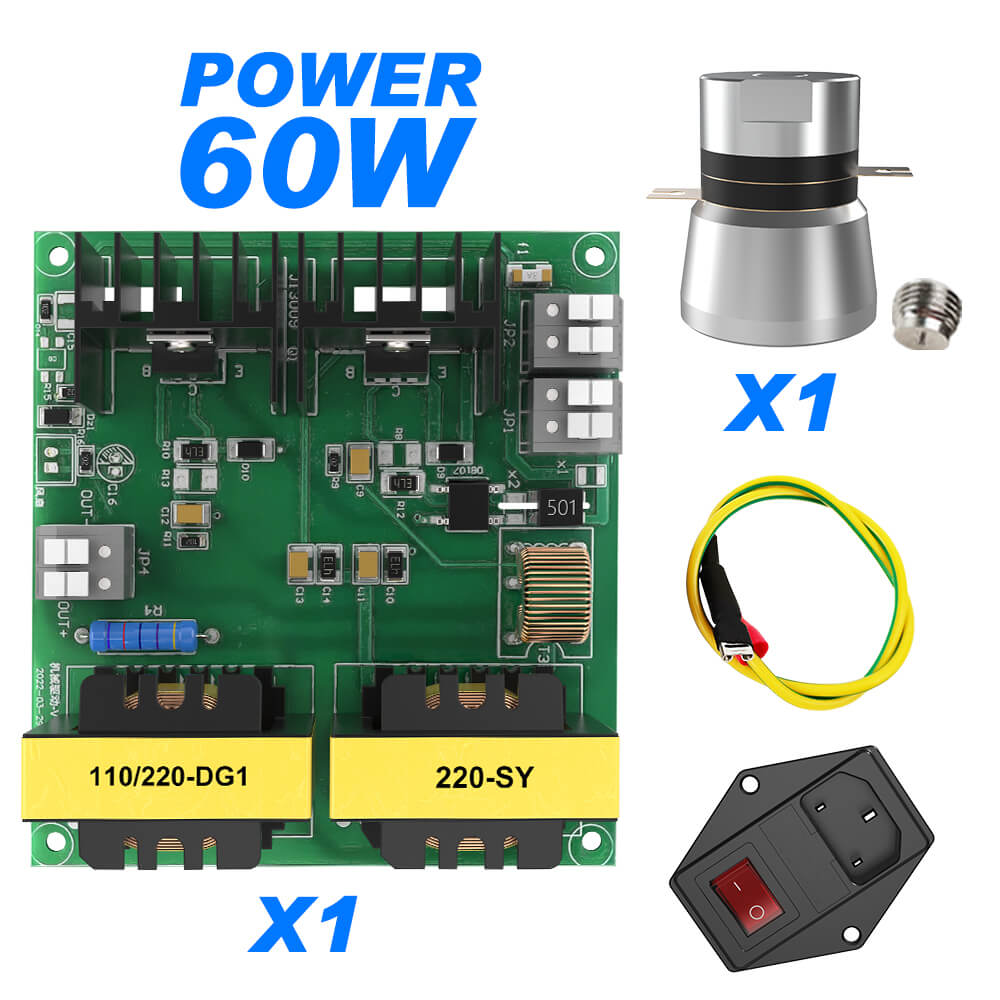
Mechanical control board: No digital display needed. It can be wired directly to a power switch for on/off operation.
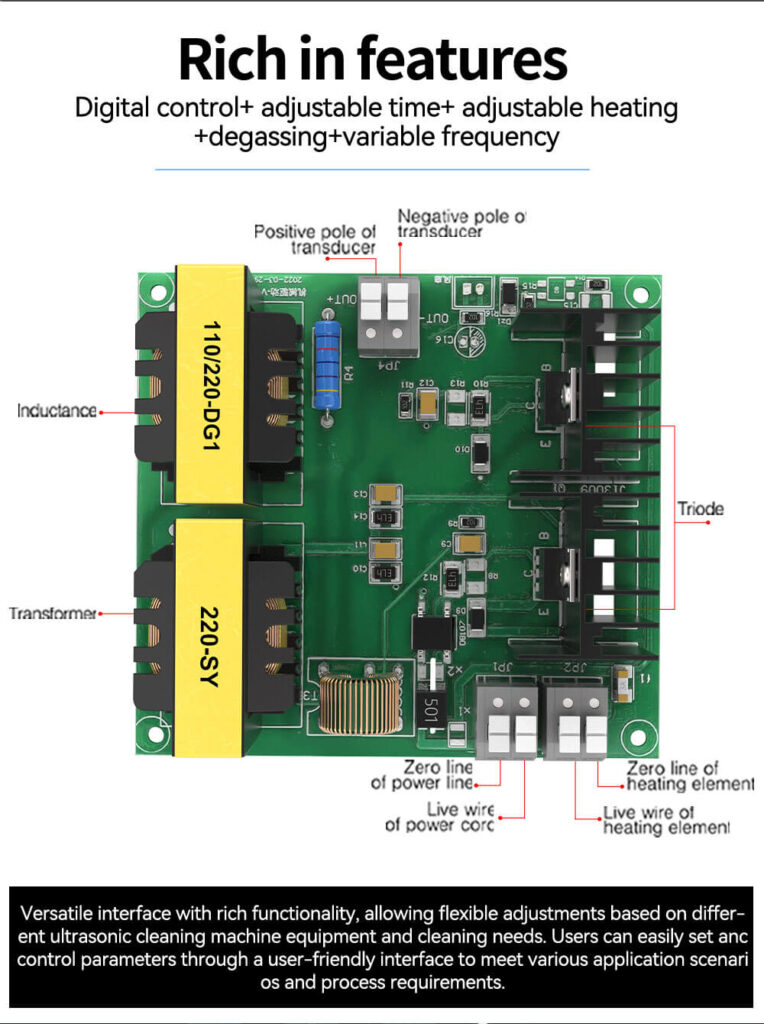
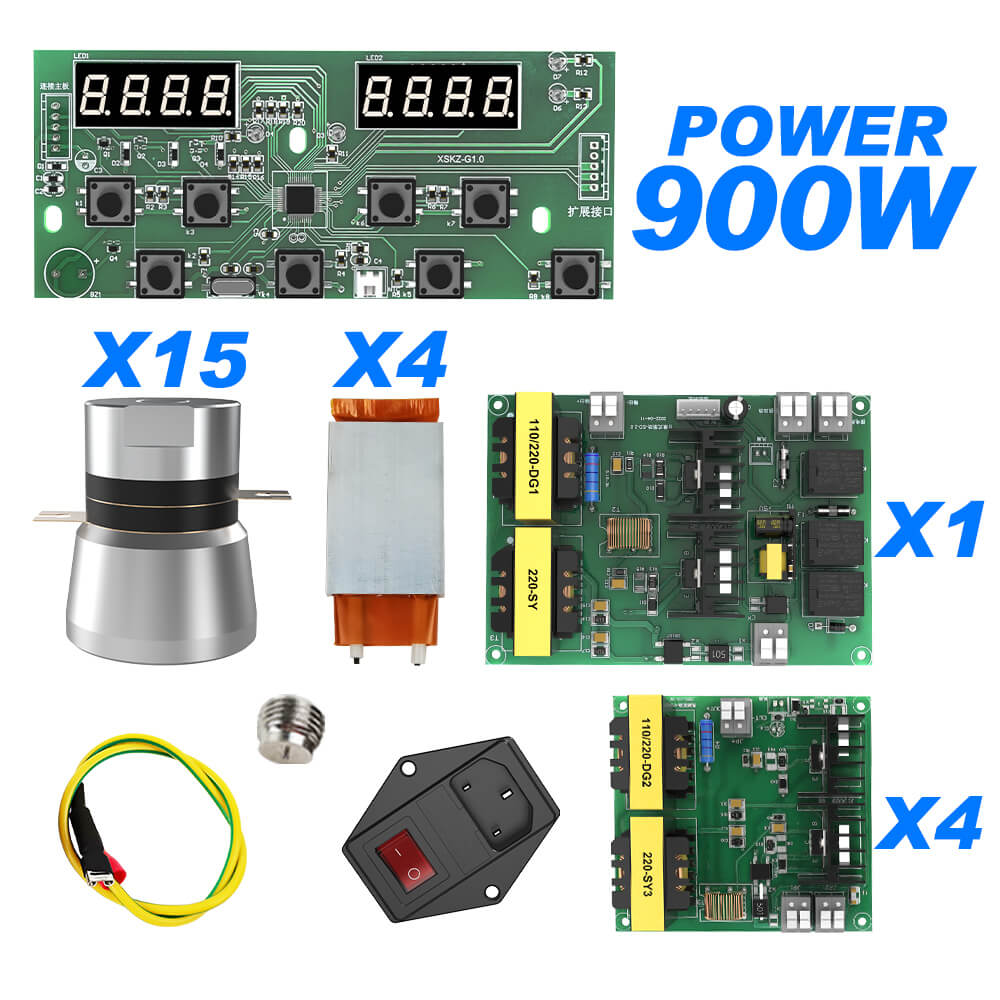
Digital control board: Must be used with the digital display panel. Start & stop is controlled jointly by panel buttons and an external physical switch.
Note: Digital board can be rewired with jumper wires to support direct switch control.
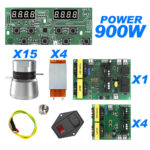
Click here for the Digital Ultrasonic Driver Board Set (extra accessories included)
Click here for the Mechanical Ultrasonic Driver Board Set (extra accessories included)
Transducer Mounting Advice:
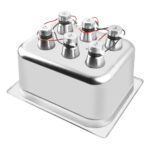
Welding + glue: Spot weld first with a stud gun, and apply epoxy evenly to the transducer bottom, then screw the transducer onto the stud for durable anti-vibration bonding.
Glue only (no welding): Sand off all paint, stick transducers with epoxy, and cure for 24–36 hours before powering up.
Note: Epoxy adhesive is an essential step — it bonds the transducer firmly to the tank bottom and ensures full metal-to-metal contact with no air gap, for reliable ultrasonic coupling.
Datasheet
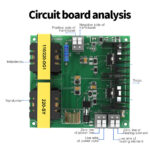
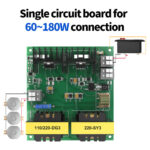
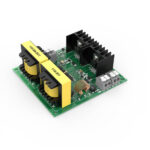
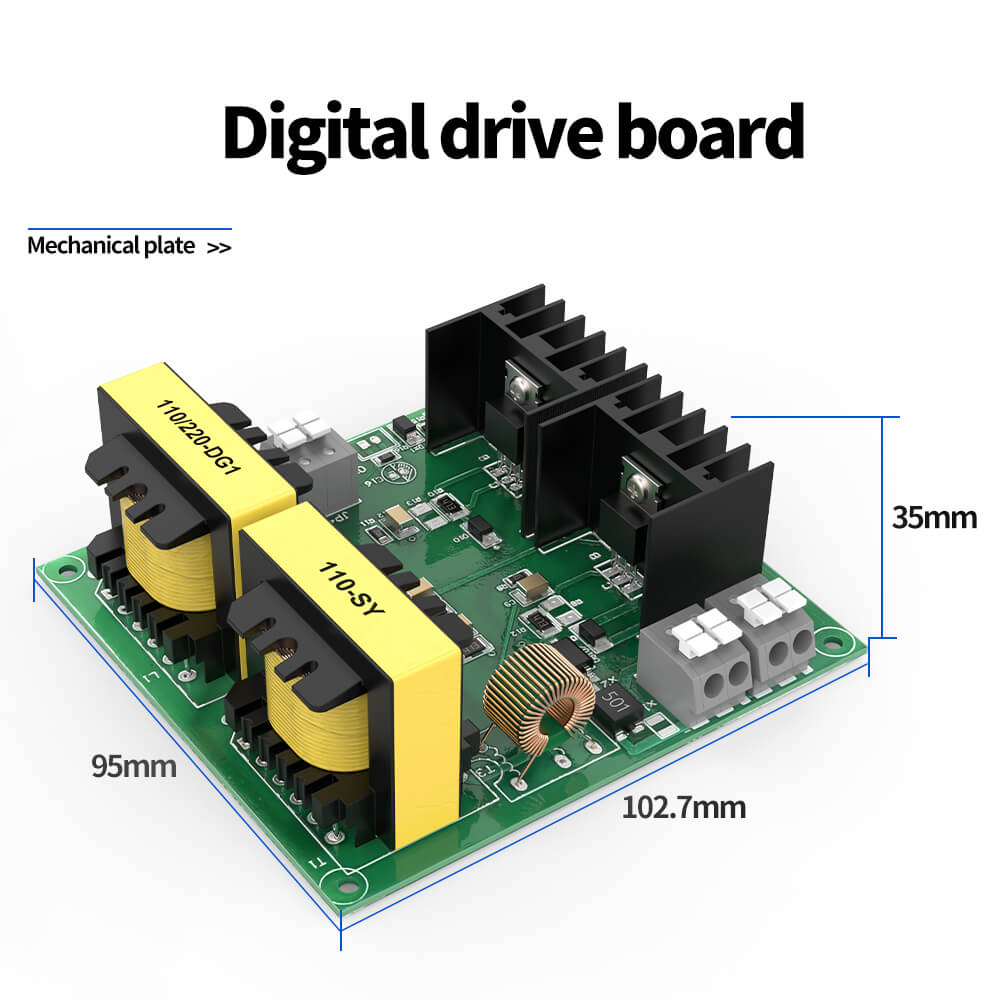
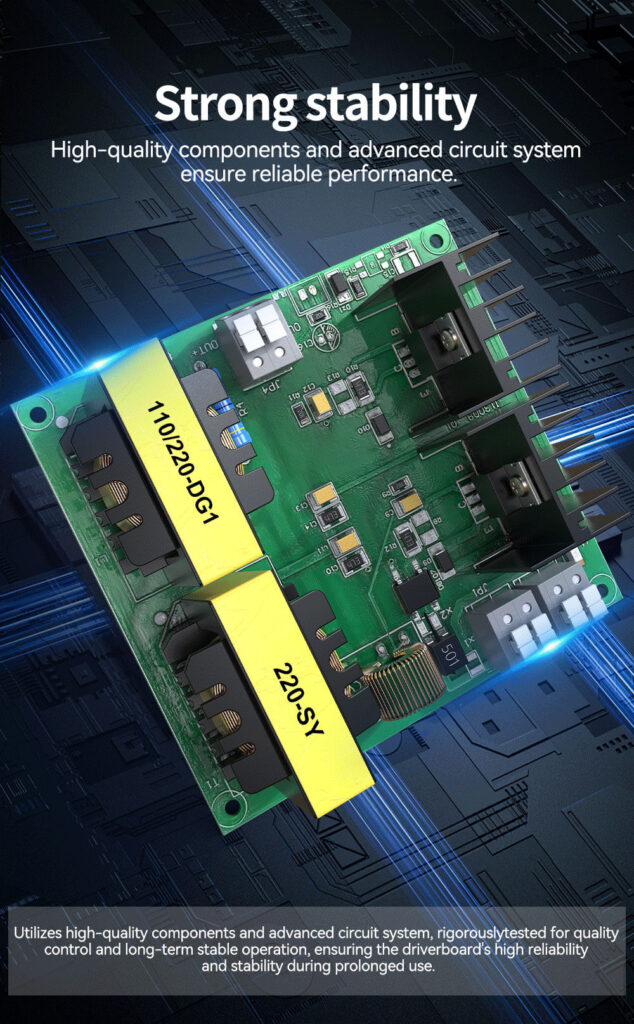
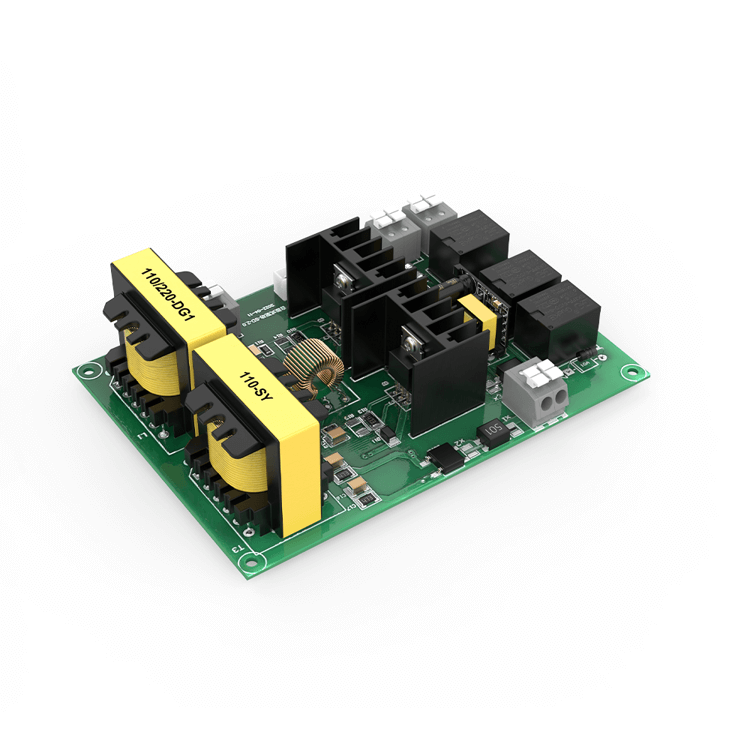
Mechanical circuit drivere board can be used for 60~180W connection DIY ultrasonic machine
| Name | Circuit Board |
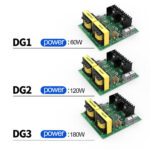
| Model | YY-M-60W / 120W / 180W |
| Ultrasonic Power | 60W / 120W / 180W |
| Voltage | 110/220V |
| Product Size | 102.7*95*35mm |
| Heating Power | 150W |
| Frequency | 40KHz |
| Feature | Mechanical Control |
| Customized Frequency, OEM / ODM | |

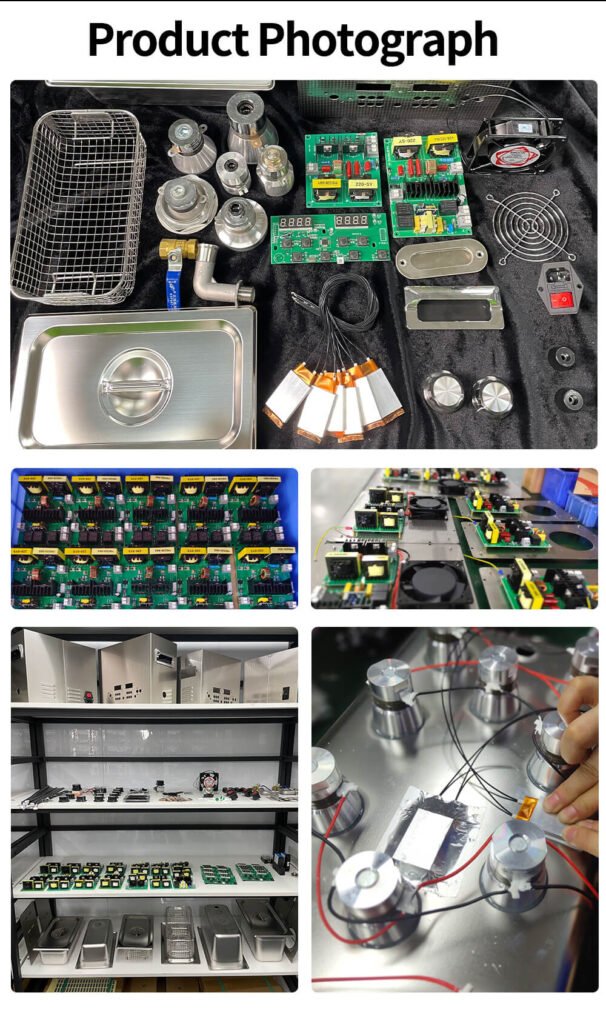
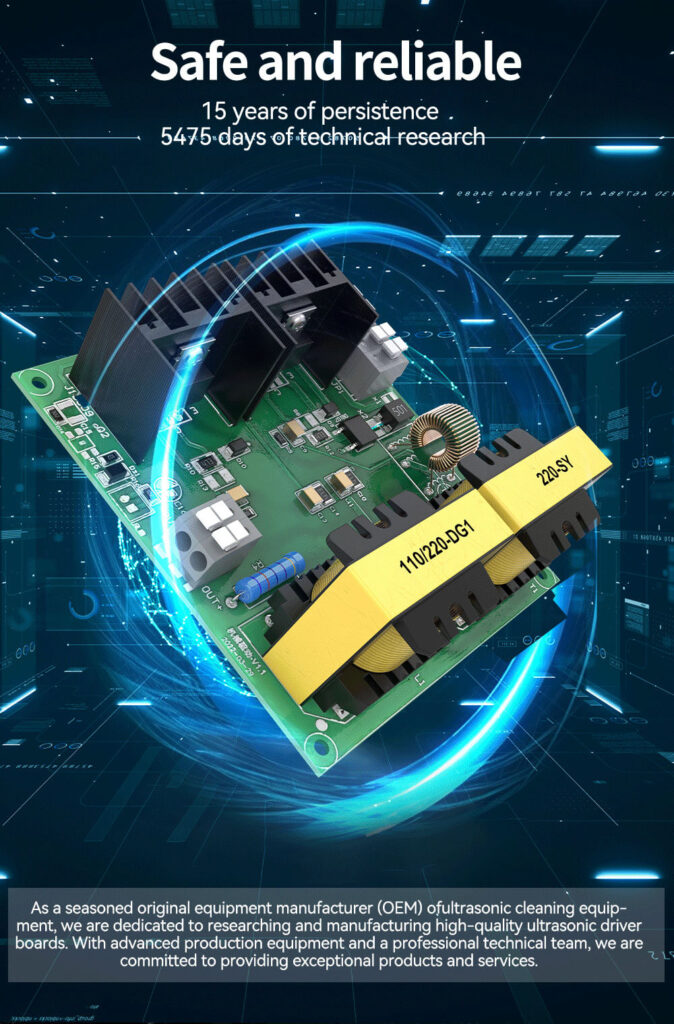

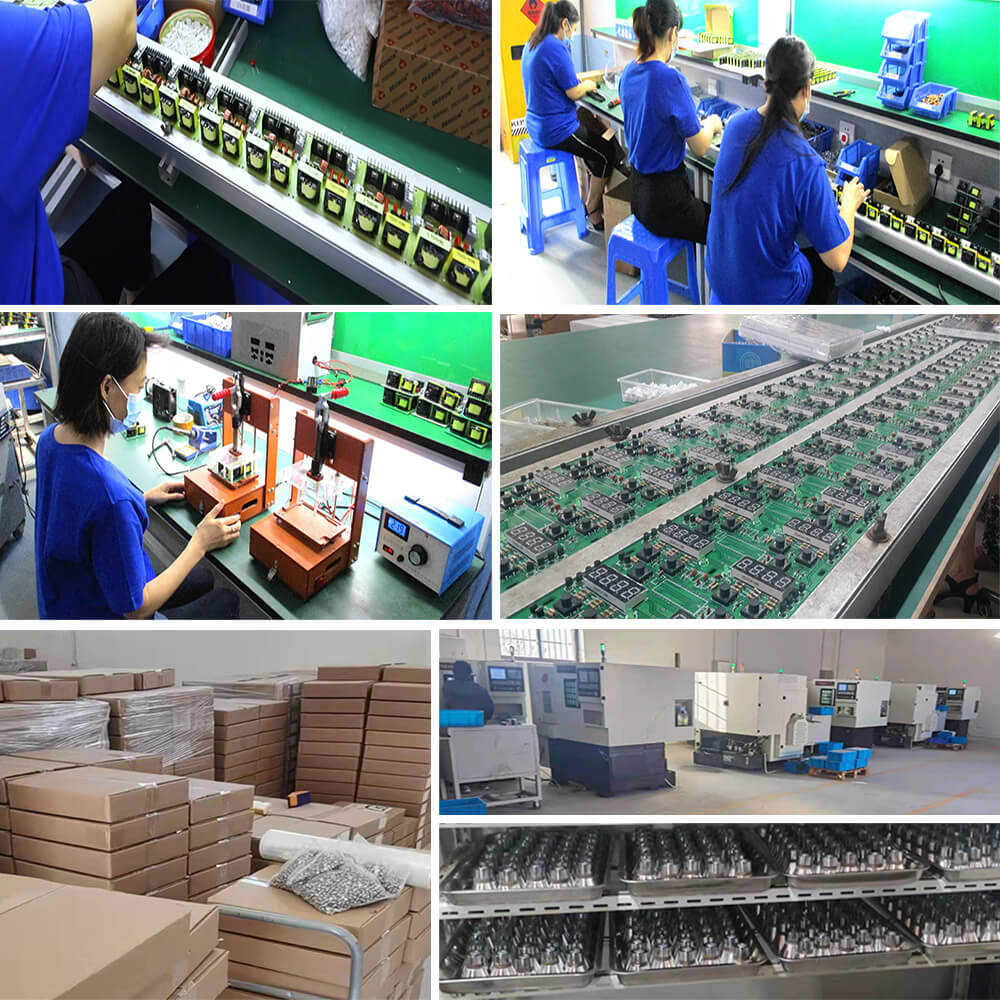
Why Choose Yunyisonic?
- Original Manufacturer
- Efficient cleaning
- Advanced Technology
- Strong R&D Capability
The drive board provides consistent ultrasonic energy, mechanical knob controls for timer and temperature, ensuring precise cleaning conditions for diverse applications. Step-by-step instructions ensure smooth assembly and reliable operation, enabling anyone to quickly master ultrasonic cleaning technology.

Reviews
Clear filtersThere are no reviews yet.