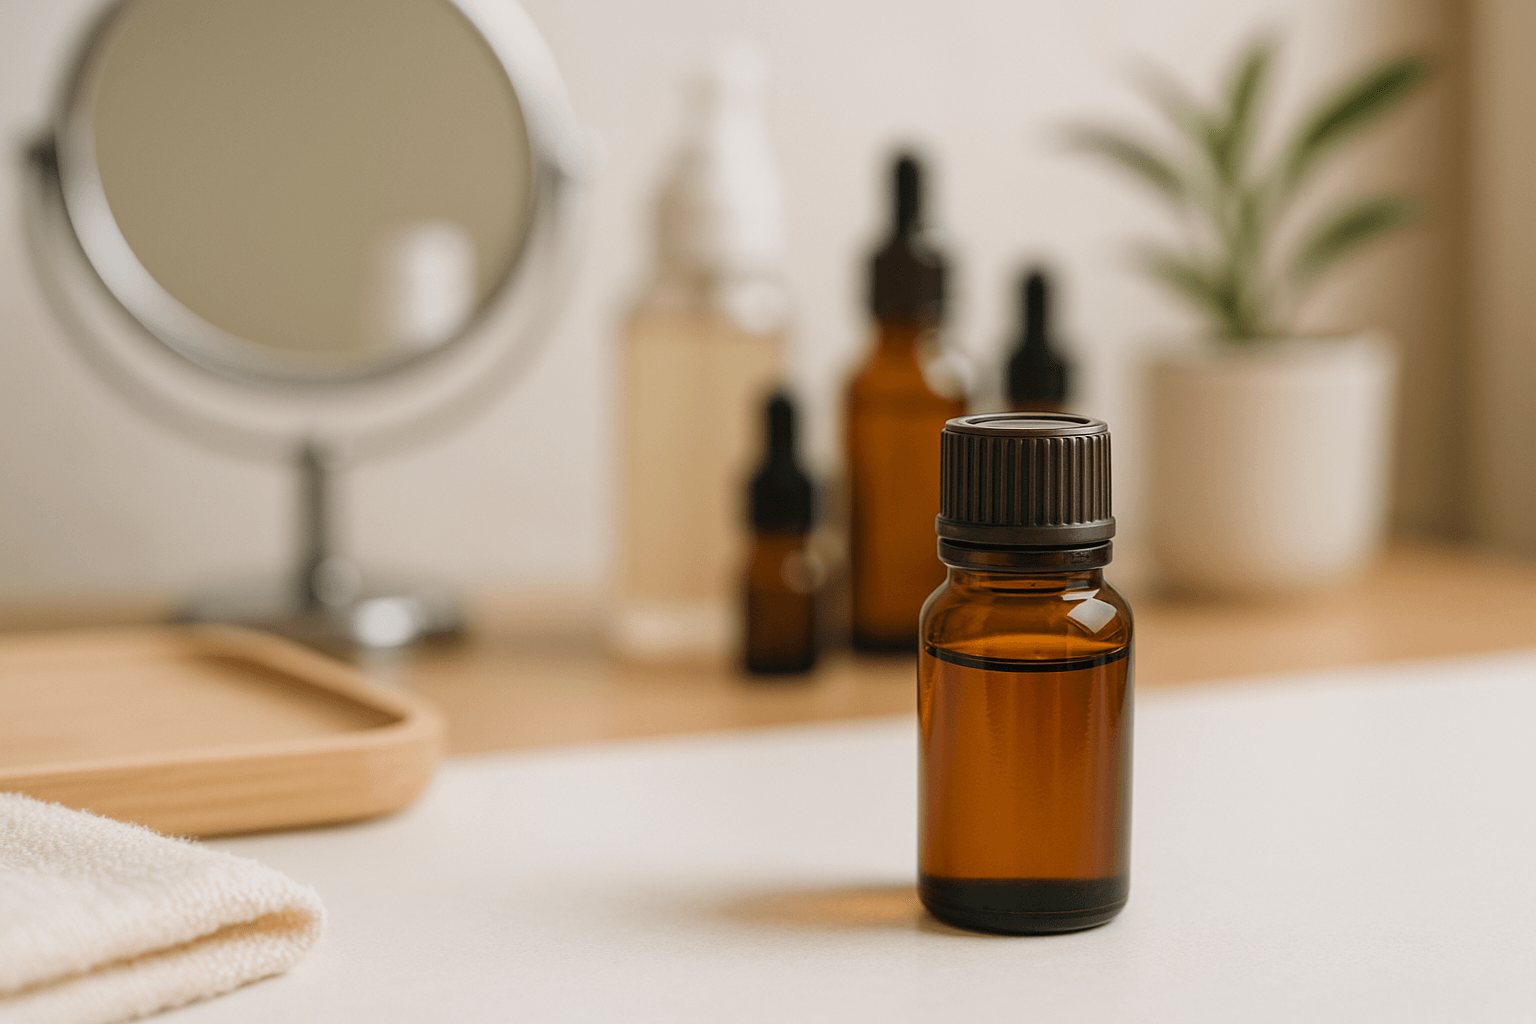
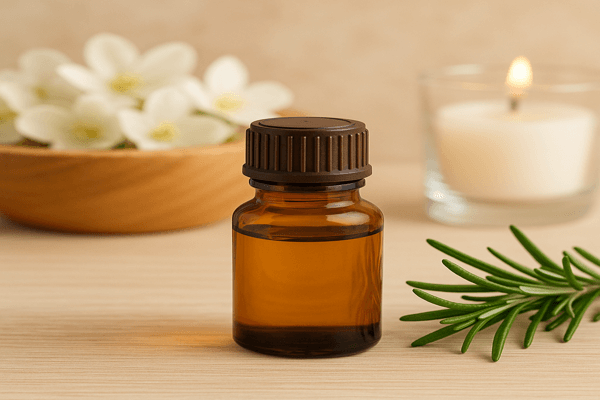
Aromatherapy plays a quiet yet powerful role in enhancing our well-being, and essential oil diffusers are often the centerpiece of that experience. Whether you’re winding down with lavender or boosting focus with peppermint, the diffuser acts as a conduit between scent and mood. However, as oils vaporize and water evaporates, they often leave behind residue—sticky film, mineral scale, and even mold—deep inside the unit. Over time, this buildup can compromise performance, alter fragrance quality, and even shorten the diffuser’s lifespan.
Although routine wiping and rinsing may delay the issue, these methods rarely reach the intricate components where residue tends to hide. That’s where ultrasonic cleaning becomes especially valuable. By using microscopic cavitation bubbles to penetrate hard-to-reach crevices, ultrasonic cleaners restore your diffuser to a cleaner, safer, and more efficient state—making regular maintenance easier and far more effective.
Why Ultrasonic Cleaners Work Well for Diffusers
Essential oil diffusers are delicate appliances that rely on vibrating plates and fine channels to produce mist. Over time, these components get clogged with essential oil residue, mineral buildup from water, and microbial films. The challenge lies in reaching and thoroughly cleaning these narrow, intricate spaces without disassembling the entire unit or damaging sensitive parts.
Ultrasonic cleaners solve this problem by harnessing the power of high-frequency sound waves transmitted through a liquid. These sound waves generate countless microscopic cavitation bubbles that implode with controlled force, loosening debris and breaking down residues—even in places that cotton swabs or soft cloths can’t touch. The process is both non-invasive and highly effective, making it ideal for cleaning ultrasonic diffusers without risking mechanical wear or corrosion.
This method also preserves the integrity of diffuser materials, especially for those made of plastic, ceramic, or light metals that may degrade under harsh scrubbing or chemical exposure. When used with a mild, diffuser-safe cleaning solution, ultrasonic cleaners provide a consistent deep clean while minimizing manual effort.
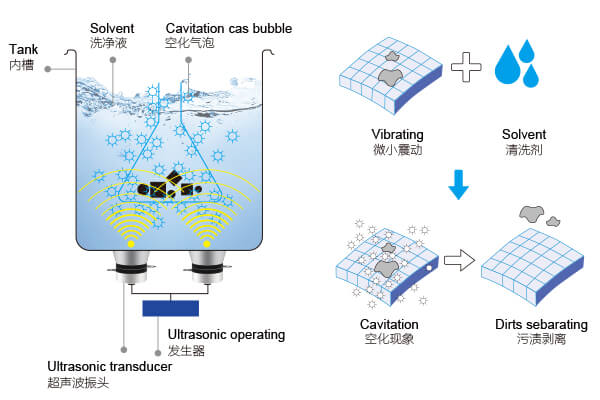
The Principle Behind Ultrasonic Cleaning
Step-by-Step Cleaning Instructions
Start by unplugging your diffuser and removing any remaining water or oil.
Disassemble the diffuser as much as the design allows. Typically, this includes removing the lid, tank cap, and possibly the inner disc if it’s detachable.
Place the disassembled parts (excluding electrical base units) into the ultrasonic cleaner’s basket. Avoid submerging any part with electrical circuitry or battery housing.
Prepare your cleaning solution. For most essential oil residue, a mild mixture of distilled water and white vinegar (in a 3:1 ratio) works well. Add the solution into the ultrasonic cleaner tank until the parts are fully submerged.
Set the ultrasonic cleaner to run for 5–8 minutes at a temperature of 40–50°C. Most diffuser components are plastic or lightweight metal and may warp under high heat, so avoid going higher.
After the cycle is complete, remove the parts, rinse thoroughly with distilled water to remove any vinegar smell, and gently dry them with a microfiber cloth or let them air-dry.
Reassemble the diffuser and run a test cycle with plain water to ensure everything works properly and smells fresh.
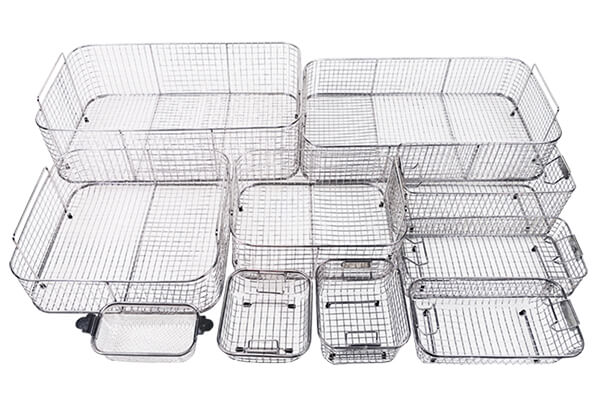
baskets
Best Practices and Precautions
Always use distilled water to prevent mineral buildup on the ultrasonic transducer plate. Tap water can leave calcium deposits that affect performance over time.
Avoid strong commercial cleaners that contain alcohol, bleach, or solvents. These can damage plastic components and leave behind residues that may interfere with essential oils.
Make ultrasonic cleaning a routine—every 1–2 weeks for frequent users, or after switching between strong-scented oils. This prevents cross-contamination and preserves each scent’s purity.
Never clean electrical components or power bases in an ultrasonic cleaner. These must be wiped gently with a damp cloth and dried thoroughly.
If your diffuser uses a ceramic disc or has UV light components, check the manufacturer’s manual for cleaning guidance before using ultrasonic technology.
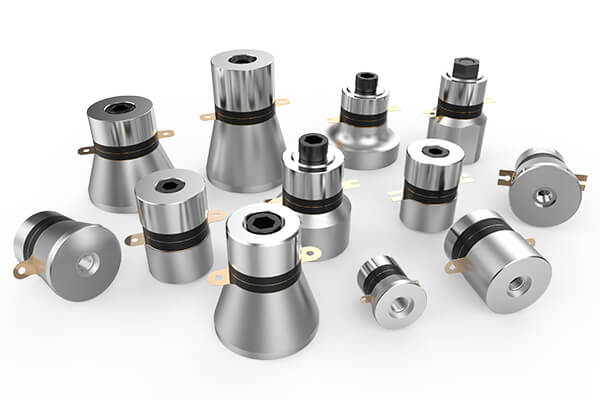
Transducers
When to Consider Upgrading Your Cleaning Routine
If you find yourself cleaning your diffuser more often than you’d like—or still detecting lingering smells or poor mist output despite regular care—it might be time to rethink your cleaning method. Traditional cleaning, like wiping with vinegar or rinsing with warm water, may maintain surface cleanliness but often fails to address internal grime.
Over time, inefficient cleaning leads to hidden buildup that not only reduces performance but may even pose hygiene risks, especially in shared spaces or humid environments. Upgrading to ultrasonic cleaning gives you the ability to cleanse thoroughly and gently at a microscopic level, removing what hand-cleaning leaves behind.
This upgrade becomes especially relevant for users who operate diffusers daily, rotate a wide variety of oils, or run multiple units in professional settings like spas, yoga studios, or therapy offices. Regular ultrasonic maintenance can also prolong the life of your diffusers, helping to preserve their function and fragrance output over time.
Essential Oils
The Yunyisonic Advantage for Professional Cleaning
For those who expect reliability, precision, and safety from their cleaning equipment, Yunyisonic ultrasonic cleaners offer a solution that goes beyond basic maintenance. Designed with multi-frequency systems and intelligent temperature control, Yunyisonic machines are tailored for nuanced cleaning tasks like essential oil diffuser care.
Unlike consumer-grade cleaners that often rely on fixed, low-range frequencies, Yunyisonic units use multi-frequency combinations to handle both heavy oil residues and fine mineral films without damaging internal components. Whether you’re cleaning a personal diffuser or servicing several devices at once in a commercial setting, the consistent power output and custom-tuned cavitation strength of a Yunyisonic cleaner delivers outstanding results.
Additionally, Yunyisonic’s equipment is built with durable materials, anti-corrosion tanks, and programmable cycles—ideal for users who require dependable, long-term cleaning solutions. Coupled with exceptional local service and support, the Yunyisonic brand has earned its place among professionals who need more than just a clean—they need precision performance.
Final Touch: Keeping the Diffuser Like New
To keep your diffuser functioning and smelling fresh over the long term, a proper cleaning schedule is key. Even with ultrasonic cleaning, it’s good practice to rinse your diffuser with distilled water after every use and empty the reservoir daily to prevent stale buildup. For heavy users, a weekly ultrasonic cleaning session can prevent deep-seated clogs and lingering odors before they form.
Also, always use diffuser-safe ultrasonic cleaning solutions—harsh chemicals or homemade mixes with acidic ingredients can damage sensitive parts or leave behind films that interfere with aroma output. If you’re unsure, opt for neutral pH formulations or plant-based surfactants known for gentle cleansing.
Remember, clean diffusers not only last longer—they also deliver a truer, purer scent experience. Whether you’re caring for a single unit at home or managing a spa full of them, ultrasonic cleaning ensures your diffusers stay as fresh and effective as the first time you used them.