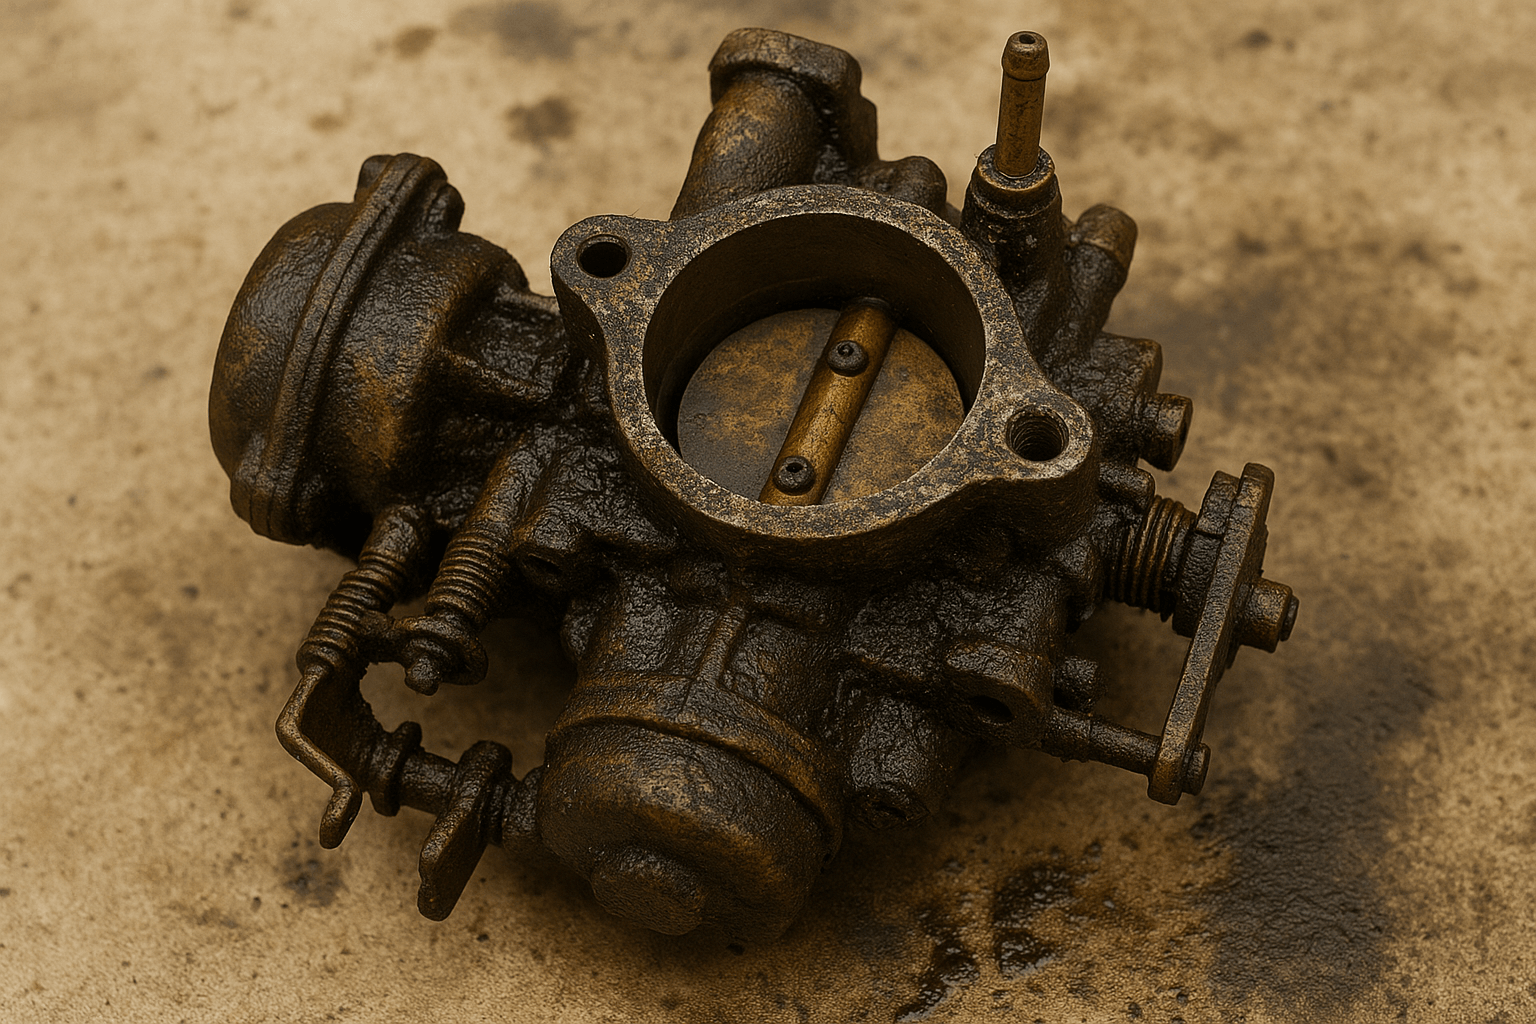
Maintaining a clean carburetor isn’t just about mechanical performance—it’s about restoring an engine’s full potential. Whether you’re working on a motorcycle, lawnmower, generator, or vintage car, carbon buildup, varnish, and grime can strangle performance in ways that routine scrubbing simply can’t undo. That’s where ultrasonic cleaning steps in, not as a luxury, but as a remarkably efficient and surprisingly accessible solution.
Unlike conventional methods, ultrasonic cleaners work by producing high-frequency sound waves that agitate a cleaning solution at the molecular level. This creates millions of microscopic cavitation bubbles that collapse against the surface of submerged components, lifting away contaminants—inside jet holes, around gaskets, and even in hidden channels where brushes or sprays fall short.
Why Ultrasonic Cleaning is Ideal for Carburetors
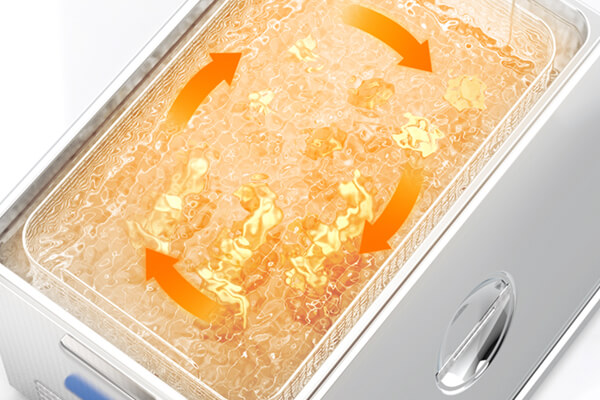
Ultrasonic cleaning machine in operation
When fuel residues, oil films, or oxidized deposits harden inside a carburetor, conventional methods—spray cleaners, wire brushes, soaking baths—often leave behind hidden grime. Ultrasonic cleaning excels because of its ability to reach deep into narrow orifices and internal passages without disassembling every tiny part.
What sets ultrasonic cleaning apart is its non-invasive precision. The cavitation bubbles generated during the ultrasonic process aren’t abrasive like wire brushes or scouring pads. Instead, they create micro-pressure waves that collapse against every surface and crevice of the carburetor components, dislodging carbon buildup, old fuel residues, and even minute metal particles without degrading the material integrity.
This is especially important for modern carburetors, which often use lightweight aluminum alloys or have tightly engineered jets and needles. A manual cleaning could easily damage those surfaces or overlook key deposits that continue to hinder fuel-air flow. Ultrasonic waves, however, deliver consistent cleaning power across all angles—ensuring no spot is missed, no matter how obscure.
Beyond cleaning power, ultrasonic systems are also more environmentally friendly. Many solutions used in these cleaners are water-based and biodegradable, reducing the need for harsh chemicals and volatile solvents. For both hobbyists and professionals alike, ultrasonic technology is no longer just an upgrade—it’s the standard for thorough, safe, and reliable carburetor maintenance.
Choosing the Right Cleaning Solution for Carburetor Contaminants
The effectiveness of an ultrasonic cleaner hinges not only on the device itself, but the liquid inside the tank. A good cleaning solution should emulsify oils, dissolve carbon deposits, and prevent re-deposition on metal surfaces.
For carburetors, especially those made of aluminum, a non-corrosive, water-based alkaline or neutral solution works best. The formulation should strike a balance between power and safety—strong enough to lift grime, but gentle enough not to etch or tarnish sensitive parts.
Common ingredients in effective carburetor cleaning solutions include:
| Ingredient Type | Function | Benefit in Carburetor Cleaning |
|---|---|---|
| Surfactants | Reduce surface tension | Enhance fluid penetration into small passages and crevices |
| Chelating Agents | Bind with metal ions | Aid in dissolving and removing oxide layers from metal components |
| Mild Alkalis | React with oils and carbon-based compounds | Break down greasy residues and carbon deposits without damaging sensitive materials |
| Corrosion Inhibitors | Form protective layers on metal surfaces | Prevent rust or corrosion during and after the ultrasonic cleaning process |
Avoid using strong acids, ammonia, or bleach-based mixtures, especially for aluminum, zinc, or brass carburetor parts, as these can cause pitting or corrosion.
If crafting a homemade solution, a mixture of water, a small amount of mild dish soap, and a touch of sodium carbonate (washing soda) can serve as a basic alternative. But always test compatibility on a small part and avoid excessive concentrations.
Step-by-Step: Cleaning a Carburetor in an Ultrasonic Cleaner
Getting the most out of your ultrasonic cleaner requires more than dropping parts in and pressing “start.” The process is methodical, and every step adds up to a cleaner, longer-lasting carburetor.
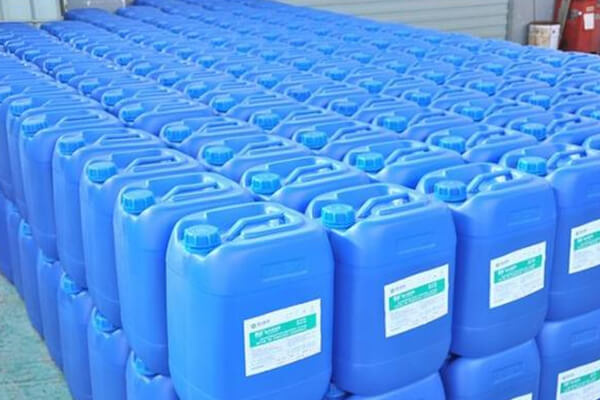
Ultrasonic cleaning machine cleaning fluid
Disassembly:
Carefully remove the carburetor from the engine and disassemble all removable parts. Take off floats, jets, screws, gaskets, and diaphragms. Remove rubber and plastic components that may be heat- or solvent-sensitive unless your machine has adjustable temperature settings.
Pre-Rinse:
If the part is coated in thick oil or fuel sludge, give it a quick soak or wipe to remove bulk contaminants. This helps the ultrasonic cleaner focus on embedded grime.
Prepare the Solution:
Fill the ultrasonic tank with the chosen cleaning fluid. Heat the solution to 50–60°C (122–140°F), which increases cavitation intensity and helps loosen hardened residues.
Submerge the Parts:
Place the disassembled carburetor components in the basket, ensuring they’re fully submerged but not touching each other. This allows even cleaning and protects against scratching.
Run the Cycle:
Start the machine and allow it to run for 10–20 minutes, depending on contamination severity. Avoid over-cleaning; if some buildup remains, run a second shorter cycle.
Rinse and Dry:
Once the cycle finishes, rinse the parts thoroughly with distilled water to remove residual solution. Use compressed air to dry components—especially internal passageways—to prevent moisture-related corrosion.
Inspect and Reassemble:
Ensure all jets, channels, and seats are clean and free of debris. Replace any worn gaskets or seals, and carefully reassemble the carburetor.
When to Consider a Professional Ultrasonic Cleaning Setup
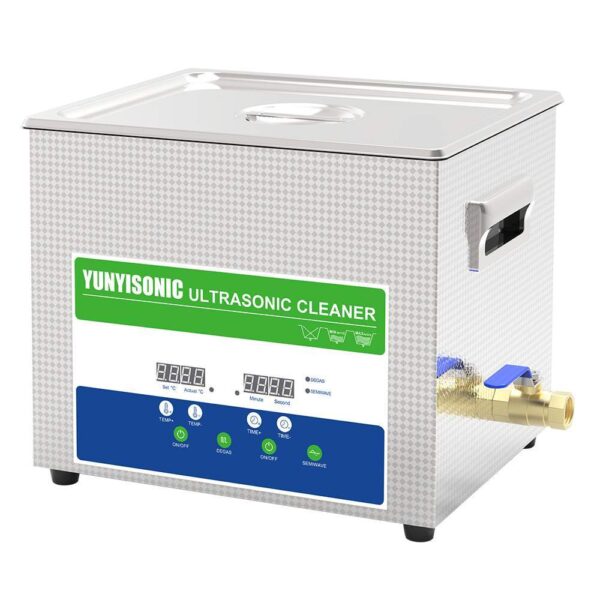
For occasional users, a benchtop ultrasonic cleaner with a modest tank size might suffice. But for repair shops, performance garages, or those working on multiple engines, upgrading to a more robust system—like the industrial-grade models offered by Yunyisonic—can be a game-changer.
Yunyisonic ultrasonic cleaners support multi-frequency settings to suit different carburetor designs and dirt profiles. Their tanks are crafted from industrial-grade stainless steel, equipped with digital timers, heating controls, and optional filtration systems to extend fluid life. Most importantly, they’re engineered for precision cleaning while ensuring the safety of lightweight aluminum or brass parts.
The ability to customize tank size, ultrasonic power, and cycle control makes Yunyisonic systems especially suitable for businesses handling high volumes or diverse part geometries. For those tired of short-lived solutions or inadequate domestic machines, the Yunyisonic route offers lasting reliability and service support.
If you plan to clean the carburetor, and you need to buy an ultrasonic cleaner to solve this problem, you can choose the following products:
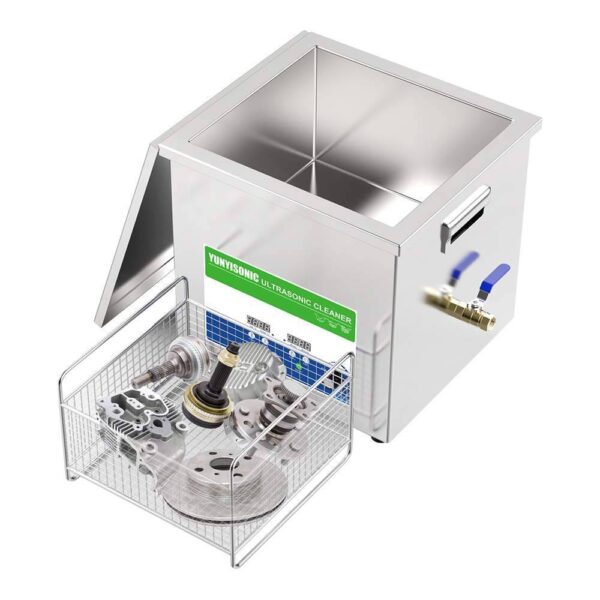
10L Digital Ultrasonic Cleaner for Carburetors 40kHz SUS304 with Timer, Heating
In stock
| Volumetric Weight | 11.0 kg |
|---|---|
| Package Dimensions | 43.5 × 36 × 35 cm |
| Model | YW0410, YW0610 |
| Application Field | Aerospace, Aluminum, Autoparts, Car Parts, Carburetors, Coins, Dental, Engine, Gear, Laboratory, Print Head, Vessel, Watches |
| Brand | Yunyisonic |
| Origin | Shenzhen City, China |
| Capacity | 10L |
| Frequency | 40kHz |
| Power | 120/240W, 180/360W |
| Timer | 1-30mins |
| Heater | RT~80°C |
| Tank Material | SUS304 Stainless Steel |
| Voltage | AC 110V 60Hz;AC 220V 50Hz |
| Plug Type | AU Plug, EU Plug, Other Plugs, UK Plug, US Plug |
| Certificates | CE, FCC, ROHS |
| Warranty | 1 Year |
| Customization | Logo/Pattern, Private Lable, White Label |
| Function | Clean Thoroughly, Degassing, Digital Control, Heating, Semiwave, Timing |
| Manufacturer | Yunyisonic Shenzhen Co., Ltd. |
14-130L Industrial Ultrasonic Cleaner with Built-in Generator | Adjustable Power 28/40kHz for Engine Block Carburetor DPF Lab Cleaning
In stock
| Volumetric Weight | N/A |
|---|---|
| Package Dimensions | N/A |
| Model | YN0614, YN0820, YN1030, YN1240, YN1860, YN1868, YN2480, YN3613 |
| Application Field | 3D Manufacturing, 3D-Printed Parts, Additive Manufacturing, Aerospace, Aluminum, Autoparts, Aviation, Biopharmaceutical, Brass, Car Parts, Dental, Engine, Firearms, Hardware, Hospital, Industrial Use, Marine, Semiconductor, Surgical Instrument |
| Brand | Yunyisonic |
| Origin | Shenzhen City, China |
| Capacity | 130L, 14L, 20L, 30L, 38L, 58L, 68L, 78L |
| Frequency | 120kHz, 200kHz, 28kHz, 40kHz |
| Power | 0-1200W, 0-1800W, 0-300W, 0-400W, 0-500W, 0-600W, 0-900W |
| Tank Material | SUS304 Stainless Steel, T2.0mm |
| Housing Material | SUS201 T1.0mm |
| Voltage | AC 110V 60Hz;AC 220V 50Hz |
| Plug Type | AU Plug, EU Plug, Other Plugs, UK Plug, US Plug |
| Certificates | CE, FCC, ROHS |
| Warranty | 1 Year |
| Customization | Logo/Pattern, Private Lable, White Label |
| Function | Clean Thoroughly, Digital Control, Heating, Power Adjustable, Timing |
| Manufacturer | Yunyisonic Shenzhen Co., Ltd. |
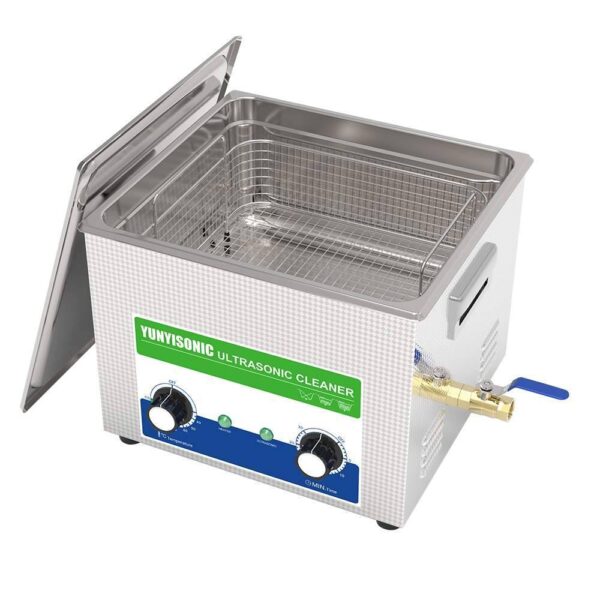
15L Mechanical Ultrasonic Cleaner for Brass Carburetor and Engine Parts | Benchtop Automotive Cleaner with Drain Valve
In stock
| Volumetric Weight | 12.8 kg |
|---|---|
| Package Dimensions | 46 × 41 × 34 cm |
| Model | YD0615, YD0915 |
| Application Field | Additive Manufacturing, Aerospace, Autoparts, Biopharmaceutical, Coins, Contact Lenses, Dental, Industrial Use, Marine, Musical Instruments, Plastics |
| Brand | Yunyisonic |
| Origin | Shenzhen City, China |
| Capacity | 15L |
| Frequency | 40kHz |
| Power | 360W, 540W |
| Timer | 1-30mins |
| Heater | RT~80°C |
| Tank Material | SUS304 Stainless Steel |
| Voltage | AC 110V 60Hz;AC 220V 50Hz |
| Plug Type | AU Plug, EU Plug, Other Plugs, UK Plug, US Plug |
| Certificates | CE, FCC, ROHS |
| Warranty | 1 Year |
| Customization | Logo/Pattern, Private Lable, White Label |
| Function | Clean Thoroughly, Heater Knob Control, Heating, Timer Knob Control |
| Manufacturer | Yunyisonic Shenzhen Co., Ltd. |
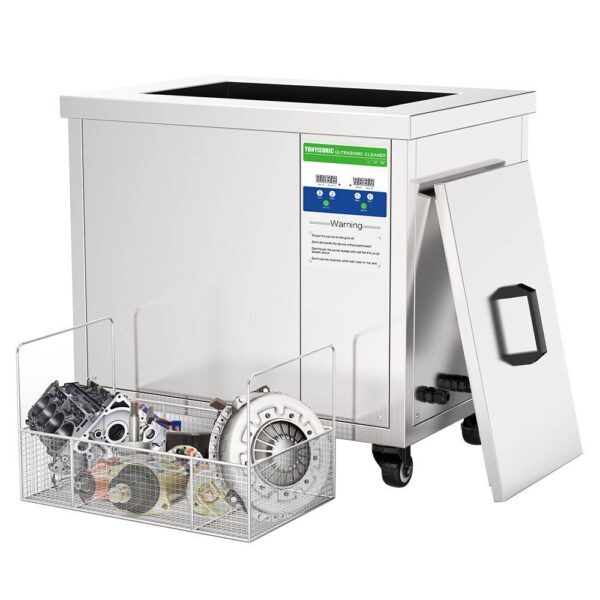
45L Industrial Ultrasonic Cleaner | Digital Power Adjustable for Auto Parts DPF Gears Engine Cleaning
In stock
| Volumetric Weight | N/A |
|---|---|
| Package Dimensions | N/A |
| Model | YM1240, YM1860, YM2480, YM30108, YML2480 |
| Application Field | 3D-Printed Parts, Additive Manufacturing, Aerospace, Aluminum, Autoparts, Aviation, Brass, Car Parts, Earrings, Firearms, Hardware, Industrial Use, Marine, Rings, Semiconductor, Surgical Instrument, Toys |
| Brand | Yunyisonic |
| Origin | Shenzhen City, China |
| Capacity | 108L, 45L, 61L, 88L |
| Frequency | 28kHz, 40kHz |
| Power | 0-1200W, 0-1500W, 0-600W, 0-900W |
| Tank Material | SUS304 Stainless Steel |
| Housing Material | SUS201 T1.0mm |
| Voltage | AC 110V 60Hz;AC 220V 50Hz |
| Plug Type | AU Plug, EU Plug, Other Plugs, UK Plug, US Plug |
| Certificates | CE, FCC, ROHS |
| Warranty | 1 Year |
| Customization | Logo/Pattern, Private Lable, White Label |
| Function | Clean Thoroughly, Digital Control, Heating, Power Adjustable, Timing |
| Manufacturer | Yunyisonic Shenzhen Co., Ltd. |
Making Every Cleaning Cycle Count
Choosing the right ultrasonic solution for your carburetor is not just about getting a clean surface—it’s about preserving function, extending part life, and ensuring consistent engine performance. A weak or mismatched solution risks leaving residues behind, or worse, corroding intricate components.
Pairing a compatible cleaning solution with a well-built ultrasonic cleaner creates a symbiotic system—each amplifies the effectiveness of the other. When used properly, the result is a machine that starts easier, idles more smoothly, and delivers the kind of performance the engine was designed for.